I thought about it, though, and the truth is: I spend my days trying to keep one very adorable six month old alive...and diapered, and fed, and bathed, and smiling, and clothed, and safe, and entertained, and healthy, and laughing, and on it goes until the crickets start to sing and I fall blissfully into my bed next to a purring orange kitty and a very handsome Diet Coke addict.

This may be the most important thing I ever do and I am desperately trying to enjoy every moment I have with her, memorize every sound she makes, remember every new idea she discovers that makes those blue eyes of hers light up like the stars. She will only be little for so long (not long enough) and I want to be present in every single second of being her mother.
Of course, this means that my house is a wreck, the laundry is chronically dirty, and projects that were started over a year ago still sit where we left them. That is to say, un-done. Incredibly un-done. Remarkably un-done. The un-donest you've ever seen. Un-done-a-doodle.
Which leads me to the kitchen reno. Maybe I should start at the very beginning (a very good place to start...sing with me now!). The plan. Maybe then Mr. and I can get inspired again to get our rear(s) in gear and finish this mammoth of an undertaking.
It's possible to do this and be a parent, right? Other people have successfully raised families while renovating a home. Or so I've been told. Although, people lie. I lie all the time. No I don't. See, I just did.
Sigh. Aren't kitchen renovations the worst? This whole business is making me a little crazy. Or is it? I don't remember.
Without further ado, this is the plan. The method-to-the-incredible-madness plan. There is a lot to be done, so I've written it all down for you. And for me. Sometimes I get a little lost in the details, so it's good to have a plan.
 |
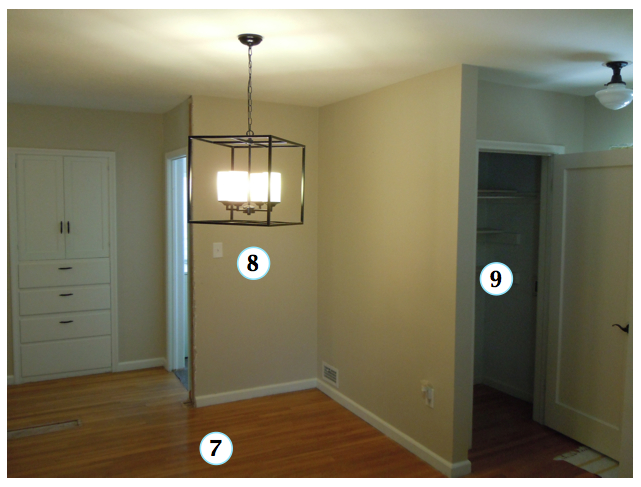
| Looking toward the "banquette" area |
In no particular order:
1. Install bead board ceiling.
2. Install new lighting.
3. Move the refrigerator to the other side of the kitchen to improve the layout and flow of the room.
4. Of course all the cabinetry will be removed and replaced, but this odd little jaunt will not be coming back. Again, to improve the layout and flow of the room.
5. Install built-in banquette seating.
6. Install new molding around windows and doors.
6a. New window treatments. (why wouldn't I just call this 7? wouldn't that be easier? Is there any limit to my weirdness? and why is weird spelled that way? isn't the rule i before e except after c? I think I need a nap)
7. New wood flooring. (oh sure, name this one 7. that makes sense)
8. Remove the walls between the kitchen and dining room.

There, now are you sufficiently confused? Me too. I'm pretty sure a nap will take care of that. Stay tuned for more kitchen madness. This is just the beginning.
 |
| Looking from the dining room towards the kitchen. |
 |
| Looking toward the dining area from the "banquette" area |
9. Move the wall behind the cabinets (there is a closet behind there) one foot back to make room for a dishwasher.
10. New wood range hood over the stove.
11. Replace the glass top stove with a duel-fuel pro style stainless one.
11. Replace the glass top stove with a duel-fuel pro style stainless one.
 |
| Looking towards the back door. |
12. Remove part of this wall and add a railing.
13. Repair the drywall from where we removed a closet to expand the bathroom.

14. Rework the old linen closet into a pantry complete with a barn door.
 |
| Looking from the hallway into the kitchen and dining rooms. |
15. Install fully integrated dishwasher.